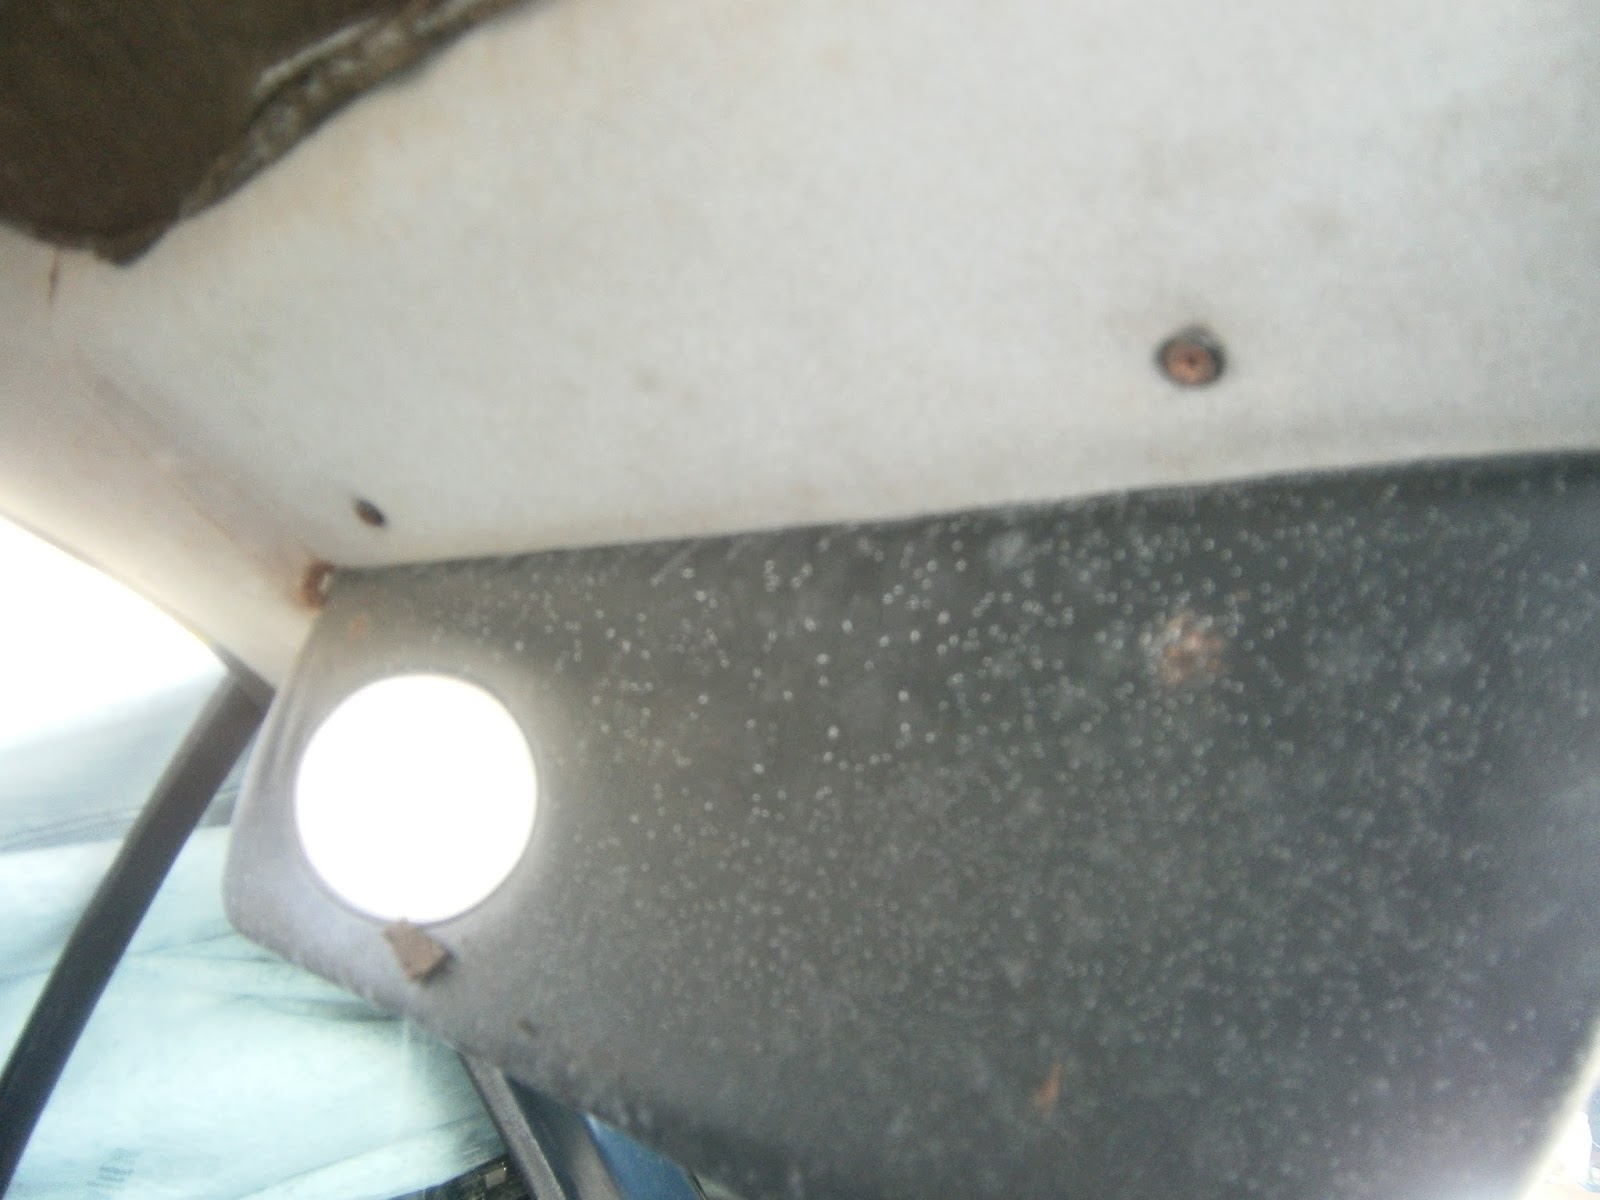
I hadn't really thought much about the rear view mirror... that is until the car was ready to move when I glanced at it automatically. No surprise I suppose given the state of everything else in this car, but it couldn't be moved to provide anything approaching a rear-view! The mirror was loose on its mountings and flapped around. The original screws had been removed and there was an unmatched pair of what look like non-original self tappers that were now loose. Obviously this is an MOT item so it needs to be sorted.
Checking the parts book I discovered that the mirror should attach to the front roof trim bar or header rail or using self-tapping screws tightening through the rail into plastic bushes in the roof. These have obviously either stripped or fallen out and need to be replaced. The front header rail, a GRP moulding, is itself held into the roof by 4 self tapping screws similarly fitted into plastic bushes across the front of the car and 2 clips either side which hold the side returns up and across the top of the doors. The wiring for the internal light and aerial to radio connections are routed above this head rail. As I have no headlining to speak of it should be simplest just to remove the header rail completely, fix any damage and then replace the plastic plugs. I'm not sure what these plugs are but they seem to be called screw grommets and there is a selection at www. vehicle clips.co.uk
The mirror was held on by 2 screws- only one was doing any good!
The mirror clips onto the mounting plinth via a ball joint- meant to pop out in the case of an impact- not really an adjustment point.
The four screws that hold the front of the header rail are visible when the sun-visors are lowered. These are anodised black screws with cup washers... Or at least should be, mine were rusty.
The sun-visor mounting pins are all rusty and will need to be cleaned/renovated. I will try to remove them once the header rail is off.
Having removed the four screws the sides unclipped from across the tops of the doors. The interior light wiring is guided along the header rail and the light needed to be carefully fed back through the rail opening to allow the rail to come out.
Interior light removed. Sorry about focus but you know what that looks like anyway! The terminals on the back of this light are quite corroded and I will try to clean and grease them. As the rail comes away the aerial wires were revealed.
 |
| Note aerial wires routed inside rail |
But finally the rail can be removed from the car
The returns on the rail are both held by two pop-rivetted clips. One of these broke off as the rail was removed. There should be 2 clips each side:
 |
| Return at side of header rail, covered in headlining material |

The rail had a 2P piece at each corner- perhaps even put in at the factory? In any event I am guessing that they are needed as an anti-rattle spacer.
 |
| 2 Clips on each side- shown from reverse side |
 |
| Close up rail return mounting clip pop rivetted through the headlining material covering the GRP header rail. |
Side clips are pop-rivetted into the GRP moulding.
The interior mirror is fixed by longer screws that penetrate through the rail inside these circular spacers. These were attached only loosely- possibly only by their corrosion (!), in any event they came away during the manipulations.
... and screw into these PVC plugs or dowels fixed to the roof. Four others receive the screws from across the front of the rail.
The sun-visors are attached by two nyloc nuts and washers at each side- here partially unscrewed.
Nut and washer removed from sun-visor mountings.
 |
| Nut and wsher removed from sunvisor pin. One spacer removed from mirror mounting and interior light opening at bottom. |
It want immediately clear how to remove the visors. As usual the WM doesnt mention them but the parts manual shows that each is attached by two long pins. The ends of these are D shaped to engage with the friction lock and secured by the nut and washer removed above. However there is an additional washer that fits over the threaded section inside the visor recess. This means that the visors cant be slipped to one side to release it from the rail because the washer is too small to admit the full width of the pin. Similarly these washers prevent the pins from being withdrawn sideways from behind the rail. There seemed to be no alternative but to tap one of the pins inward towards the centre of the visor until that side could be released from the rail and the opposite side then pulls inwards.
 |
| Sun-visor mounting inside rail. The pin emerges from the visor and passes through a washer before penetrating the mounting plate. The washer prevents the pin from being pulled towards the right in this case. |
once released the pins could simply be pulled out of the visors.
 |
| Pulling the pins out with pliers. |
 |
| Pin starting to emerge from visor. |
Inside the visors the pins were still nicely chromed. However they were very badly pitted at the terminals where they are visible beside the visors. I pulled all 4 pins out noting that the internal ends are pointed, and left pins and all washers and nuts to soak in DeoxC overnight. I will see if they can be rescued as I don't want to buy new ones.
 |
| De-rusted sun-visor pins, washer, mounting nuts and mirror screw spacers. |
The pins etc did clean up but the chrome was clearly degraded over the ends. I wire brushed the ends of the pins, all washers before treating them with rust preventer and zinc primer. I will spray paint them before fitting the sun-visors again.
I removed the tattered remnants of fabric covering the header rail. This was passed under the side rail retaining brackets which were pop rivetted through. I drilled out the pop rivets to release the clips which were treated for rust and resprayed in zinc primer as above. I reattached them using 3 x 7.5mm pop rivets.
Whilst the rail was off I peeled off the inner leaf of the old head lining from across the roof of the car... This was covered in crumbly old foam insulation which fragmented everywhere. You need a face mask and goggles and its a REVOLTING job. The interior needed a complete clean afterwards but the car feels healthier and cleaner now its off.
 |
| Repainted ends of sun-visor pins |
I do not think I got successfully to the bottom of the sun visor mounting system. Since the GRP at both side mountings was sandwiched between two metal washers it wasn't possible to slide either end outwards and the only way to remove the visor was to tap one of the pins inwards into the visor itself until this could clear the side mounting. The visor could then be pulled forwards and the other side pulled out. I don't think this can be the correct way- but it did work. To refit I tried to reverse the process but all pins were very tight in their visors (probably because this is the basis of the friction lock) so it was very tricky. I inserted both pins and then tapped one of them farther in so that the length of visors-plus-exposed pin sections would fit between the mountings. I slipped the larger of the two washers over the pin threads and then slipped the thread through the mounting in the header rail.
 |
| Pin tapped back in- nut used to protect threads. |
 |
| Larger washer added |
 |
| Visor slipped into mounting - note washer in position. |
 |
| ...and the other end then finagled into the opposite side. |
Once both sides were in, it was possible (with difficulty) to pull the "tapped-in" pin back out to penetrate the mounting on the other side (ensuring washer in position- not shown in this picture), before the smaller washer and captive nuts were refitted to the visor pins behind the header rail.
The nuts were then tightened up and the position of the visor adjusted such that an equal length of pin was visible each side of the visor.
I refitted the spacers surrounding the mirror mounting holes and attached them with a hot glue gun.
I have heard that its really tricky to refit the header rail alone. Whilst its true that a second person would have helped greatly, I did manage to refit it without too much trouble. I taped the wires for the interior light and radio aerial into position with gaffer taped and then sat the rail on top of the dashboard. I could then offer the front section up to the mountings across the front of the car.
 |
| Rail on top of dash, note side clips pop-rivetted into place on side returns. |
I held it there temporarily with a screw through the mirror mounting and eased the left side of the rail into the space above the door engaging the rear of the rail into the space at the side of the anti-roll bar covering. The lugs I had freshly pop-rivetted on could then be fixed by clipping them behind the door edging that retains the door seal edge strip. They will probably need to be removed again by the trimmer when I eventually get a new headlining installed, but I'm guessing they must be prepared for this. After all is it any different to drill out my pop rivets or those fitted by Lotus.
 |
| Right side of header rail clipped into door edging |
 |
| Close up of rail clip in door edging. |
I could then move to the other side of the car and clip the left side rail into place. Finally I was able to refit the screws to the rail mountings (4 x 1 inch No 6 self tapping screws) and the two that held the mirror (2 x 1 inch No 8 self-tapping screws). I used the old screws to refit but as these are quite rusty I will order some new anodised black screws to replace them. The mirror could now be fitted firmly and was at last usable to provide a rear view!
 |
| Mirror at last in position |
 |
| ... and interior light refitted. |
I cleaned up the contacts on the interior light, added dielectric grease and reassembled the lamp and this is one job I can declare done! Of course there is no headlining material on the roof or header rail now but I think it looks a lot better than the disgusting remnants I have removed!


 The sun-visors are attached by two nyloc nuts and washers at each side- here partially unscrewed.
 Nut and washer removed from sun-visor mountings.
 once released the pins could simply be pulled out of the visors.
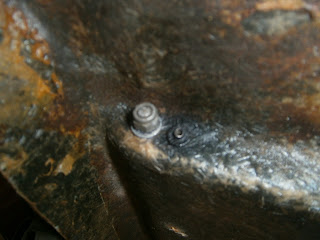


No comments:
Post a Comment
Feel free to let me know what you think of this blog. I'm working on my own here so any feedback from those Lotus enthusiasts floating around "Blogger Bank" is welcome. Suggestions for process improvements especially welcome. If you like it please follow.