As I've been driving the car I have noticed a juddering through the brakes, not particularly bad and only really noticeable as you come to a halt when the car has obvious tight spots on the discs. I checked all the discs and de-rusted the rims which did improve matters. To be frank I couldn't find any really obvious distortion or run out but I did notice a slight wobble in the rear face of the front left disc. To be fair it was minute but this tightness has to come from somewhere so I bought two new National front discs. These are marketed for the Toyota Supra (NBD 269)
 |
| They come well wrapped and greased so you will need to degrease them before fitting. |
I've described disc removal before, but since that was part of a much more general front end overhaul I thought I'd bring it together as a specific post here. The whole process took me about an hour a side so if you have some reasonable technical know-how you should be able to halve that!
Remove the road wheel, the calipers and torque bracket need to come off before you can shift the hub so its 2 x19mm bolts on the back of the bracket and a 14mm bolt on the swing release behind the caliper... the caliper has to swing to let you get at the 19mm bolts!
 |
| loosening the upper bracket bolt, the swing release bolt has already been removed. |
Once you get the caliper and bracket off suspend the bracket from a short bungey wound around the upper arm and remove the hub grease cap. Here its hidden by the disc
pull out the split pin (NB this is NOT a cotter pin) and lift off the castellated cap.
Loosen the hub nut with a 30mm socket- its not usually tight
and remove the hub nut and tabbed washer beneath
I then refit the grease cap to keep the muck out and remove the hub. Often it will simply pull forward with hand pressure. If it doesnt then a hub puller will apply nice even pressure- I found I needed this on one side but the extractor only needed finger pressure to loosen the hub.
Remove the hub and...
 |
| Hub removed- note bungey holding the bracket and caliper |
Invert it inside the wheel you have just removed to hold it firmly.
Unscrew the 4 disc retaining bolts- these are tight so you will need a breaker bar but usually holding the wheel gives enough purchase to start them turning.
I found that the discs came off easily if they were supported in one hand whilst the centre of the hub was struck with a rubber mallet. However, I have had these apart relatively recently so they weren't rusted. If you need to, support the disc (hub down) on wooden blocks and tap the back of the wheel studs with a punch through the holes in the disc from above to loosen it.
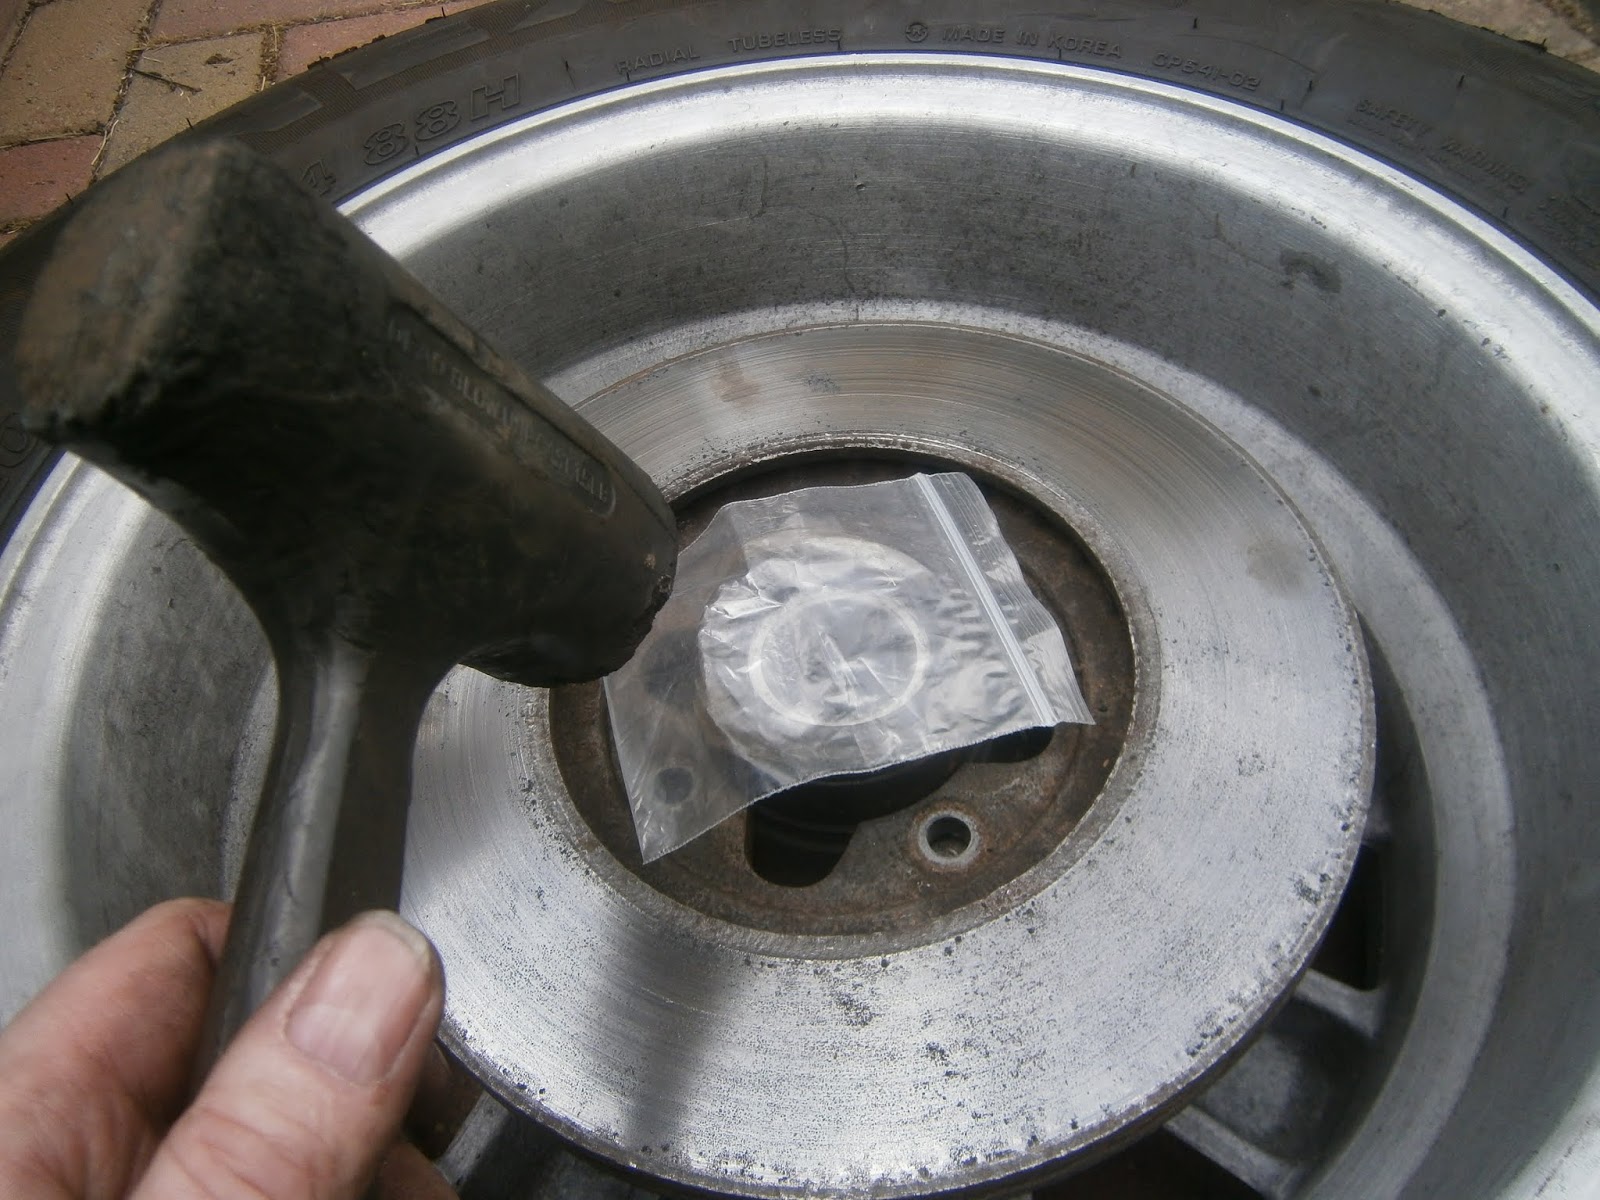
 |
| Using a plastic bag to cover the bearings. |
The discs then lift off- to be frank not much visible in the way of distortions
Clean the new discs thoroughly- I used carb cleaner followed by meths.
... and offer the new disc into position. Refit the bolts starting them by hand to avoid cross threading and then tighten them to the specified torque
Refit the hub as before
insert the tab washer
... and nut
 |
| Testing the turning force- this was the final test after everything was reassembled- the castellated cap wouldn't usually be in position to set tension. |
You can then set the bearings and I find this problematic- seems I may have got it wrong at least once! The following is my take on this awkward process and probably makes too much of a meal of it, but I worry about these things!
The manual calls for you to tighten the hub nut to 20 lbft whilst turning the hub. This centralises the bearings and also locks up the hub. You then need to loosen the nut and re-position it by hand such that the wheel turns at around 150 gf (used oil seal). Trouble is that loosening the nut does not release the bearing so you need to crack the nut back by as little as necessary before you can free up the bearings to get free rotation of the hub - too much and you risk decentralising them again. Then test the turning force needed using a spring balance on the wheel studs it should be negligible, and tighten the nut using the socket BY HAND little by little, testing the turning force required after each movement. The turning force should increase progressively as you tighten the nut- until the desired force is achieved. Don't set it by loosening the nut as the bearings tend to stick and so there's a tendency to over-loosen the nut. Make sure the final tension adjustment is set by tightening the nut. Then refit the castellated cap and a new split pin.

Frankly this is a cumbersome and over-complex method. I don't see why it can't be defined (as most cars) in terms of angular turn-back required after the bearings are clamped and centralised . One day I will see if this is a reasonably constant value.
However although fiddly and guaranteed to generate self-doubt, its at least not a tricky thing to do. In fact the hardest part of the disc swap process is refitting the clips and pads which will almost certainly fall out when you remove the torque bracket/caliper assembly.
 |
| Outer pad (slots in the sides) |
 |
| Inner pad tabs at the side. |
Its not too bad as long as the clips are bent into position and grip the bracket tightly. Its a real bugger if they keep falling ff as you try to slip in the pads.
Finally refit the torque bracket and don't forget the swing clamping bolt!
To my surprise this has removed the slight judder in the brakes, so that small amount of run out I found must have been the cause. I was going to change the rear discs as well- and indeed may still do for completeness as they are now the only part of the braking system* I haven't renewed!
*Thinking about it I've not touched the G valve (front/rear partition valve).