Its been a long while now... to my shame, but the weather is improving and I'm nearing the end of my BSA restoration so time to get out and under the car again... I am really getting (have got) too old for this. Anyway, I need to fit a number of parts to the rebuilt engine, stripping these off the old motor should make it less frightening easier and lighter to remove. Chief amongst these are the auxillary housing, power steering (and any other) mounting brackets and belt tensioner. The water pump has already been removed and sent for reconditioning. The eagle-eyed amongst you will recall that I did spend a lot of time stripping the auxillary housing from the old motor and rebuilding it with new seals. Well-yes! I did! However when I compared this to that fitted to the car there are two obvious bits missing- the oil filter mount and distributor. Further (and most worryingly) the "reconditioned" oil pump is much stiffer to turn than it was before I started- and indeed stiffer than that on the old motor. This might simply be due to friction on the new seals, but in case I bent something I thought I would simply swap the housing from the old motor. First however I need to remove it!
 |
| Auxillary housing in situ- Its held on by 9 bolts.- only seven of which are anything like accessible.- The belt mounting fits under one of the easier ones. |
Most bolts were easily removed but the front lower bolt could only be accessed with a box spanner as there was insufficient room for a socket or ordinary spanner. Another bolt hides shyly under the oil filter
Surprisingly- having been working on cars/bikes for some years I have never had to remove one of these cartridge filters- the old Morrises and Austins that I am more familiar with use a bolt-on filter cup that holds a completely paper element. I have however had this chain filter wrench in my tool kit- new and unused for about 30 years so it was at last time to open the pack and try to work out how to use it!! Quite a milestone I think! It seemed straight forward although it has a tendency to distort the filter and I worry how to use it for the installation in case this happens, but it was fine for removal. Deeply satisfying.
 |
| Filter cartrdge removed with my old new chain wrench shown on top. |

Once the filter is off then the filter mounting unit just pulls off. I couldn't see any reason to remove the distributor as this is simply driven by a dog on the end of the oil pump shaft. There is no connection into the motor. However I found the whole auxillary housing was very tight and so on the off-chance that it does make a difference... I took it off anyway! The aux housing did then come off- but I am convinced that this is just co-incidence and it wasn't necessary to remove it. I marked the position of the distributor by scratching against the line of the distributor housing, before loosening the clamp bolt. The distributor simply pulled out without bother.
Finally the aux housing gave up and came off the block. Now to clean and refit it to the rebuilt motor.
Anyway- to fit the housing...
 |
| Cleaned housing |
 |
| Mating flange polished with roloc bristle brush |
 |
| ... and coated with Wellseal |
 |
| Gasket in place |
The manual points out that not all of the 9 bolts are the same length - but its easy to work out which goes where by making sure that they all protrude through the housing and will screw the same distance into the block
 |
| Housing bolted on. |
Oil cooler adapter (Sandwich plate)
My car is fitted with an oil cooler which is fed with oil via an adapter plate between the aux housing and filter. This is shown in the parts book but not in the manual... which doesnt mention it at all apart from telling me to take care not to disturb it if I change the oil filter! It seals with a large sealing ring which I want to change so I'm definitely going to disturb it then!
 |
| Oil cooler adapter or sandwich plate. Sealing ring removed. Note the side flange in the casting and the locating slots that engage with a ridge on the block. |
This is the cleaned up adapter for the oil cooler. The sealing ring (strangely) isn't listed in the parts list but it has nu
mber A907E6167Z. Its a square section 0.5 cm section and 6.5 id. I cleaned up the aux housing by scraping off the old gasket and carefully removing all the debris. I cleaned the outside of both adapter and housing with the brass wire wheel although this didn't clean it everywhere. Note that the adapter has a lug with two cut-outs in it. I am guessing that this isn't accidental as it must have increased the cost of the casting. It looks like these lugs should engage with a moulded ridge on the block although I don't think it was so engaged when I removed it- and its not clear which lug should engage. Its a bit tricky to fiddle this in or out with the Aux housing already fitted as there isn't enough clearance to do so once the aux housing is bolted on, and one of the mounting bolts gets in the way. To solve this I found that filing the corner off one side allows the plate to be fitted pointing outwards from the block
and then rotated slightly, slipping flange between the mounting nut and block ridge. It can then be slip further back to engage the lug before being pushed fully home.
 |
| Modified sandwich plate- note curvature filed onto lug top left corner. |
 |
| Plate can now be fitted at 90 degrees to the block and slid back, aligning the flange in the space between the mounting nut and the ridge moulded into the block. |
 |
| In this position the plate can be rotated behind the mounting nut to line up the groove in the flange with the ridge. |
 |
| Flange lined up behind mounting nut, in this position the plate can be slid backwards into the auxillary housing... |
 |
| ... until fully home with the sealing ring flat against the housing. |
The sandwich plate is held on by the oil filter. The manual is quite insistent about how the filter should only be tightened a little beyond hand-tight- but then the manual is describing a setup without sandwich plate. This seems inadequate to provide a seal at both filer/plate and plate/housing junctions. As I don't think the chain wrench is suitable for tightening without distortion I will get a faceted cup wrench to refit a little tighter than this.
Distributor
The distributor was refitted with a new O ring, and spring. The O ring is a 2 mm section 23.5 ID
 |
| New O ring... One of the SJ parts from Sjsportscars so not a Lotus original. It seems smaller but I'll fit it anyway as the old one must be compressed. |
 |
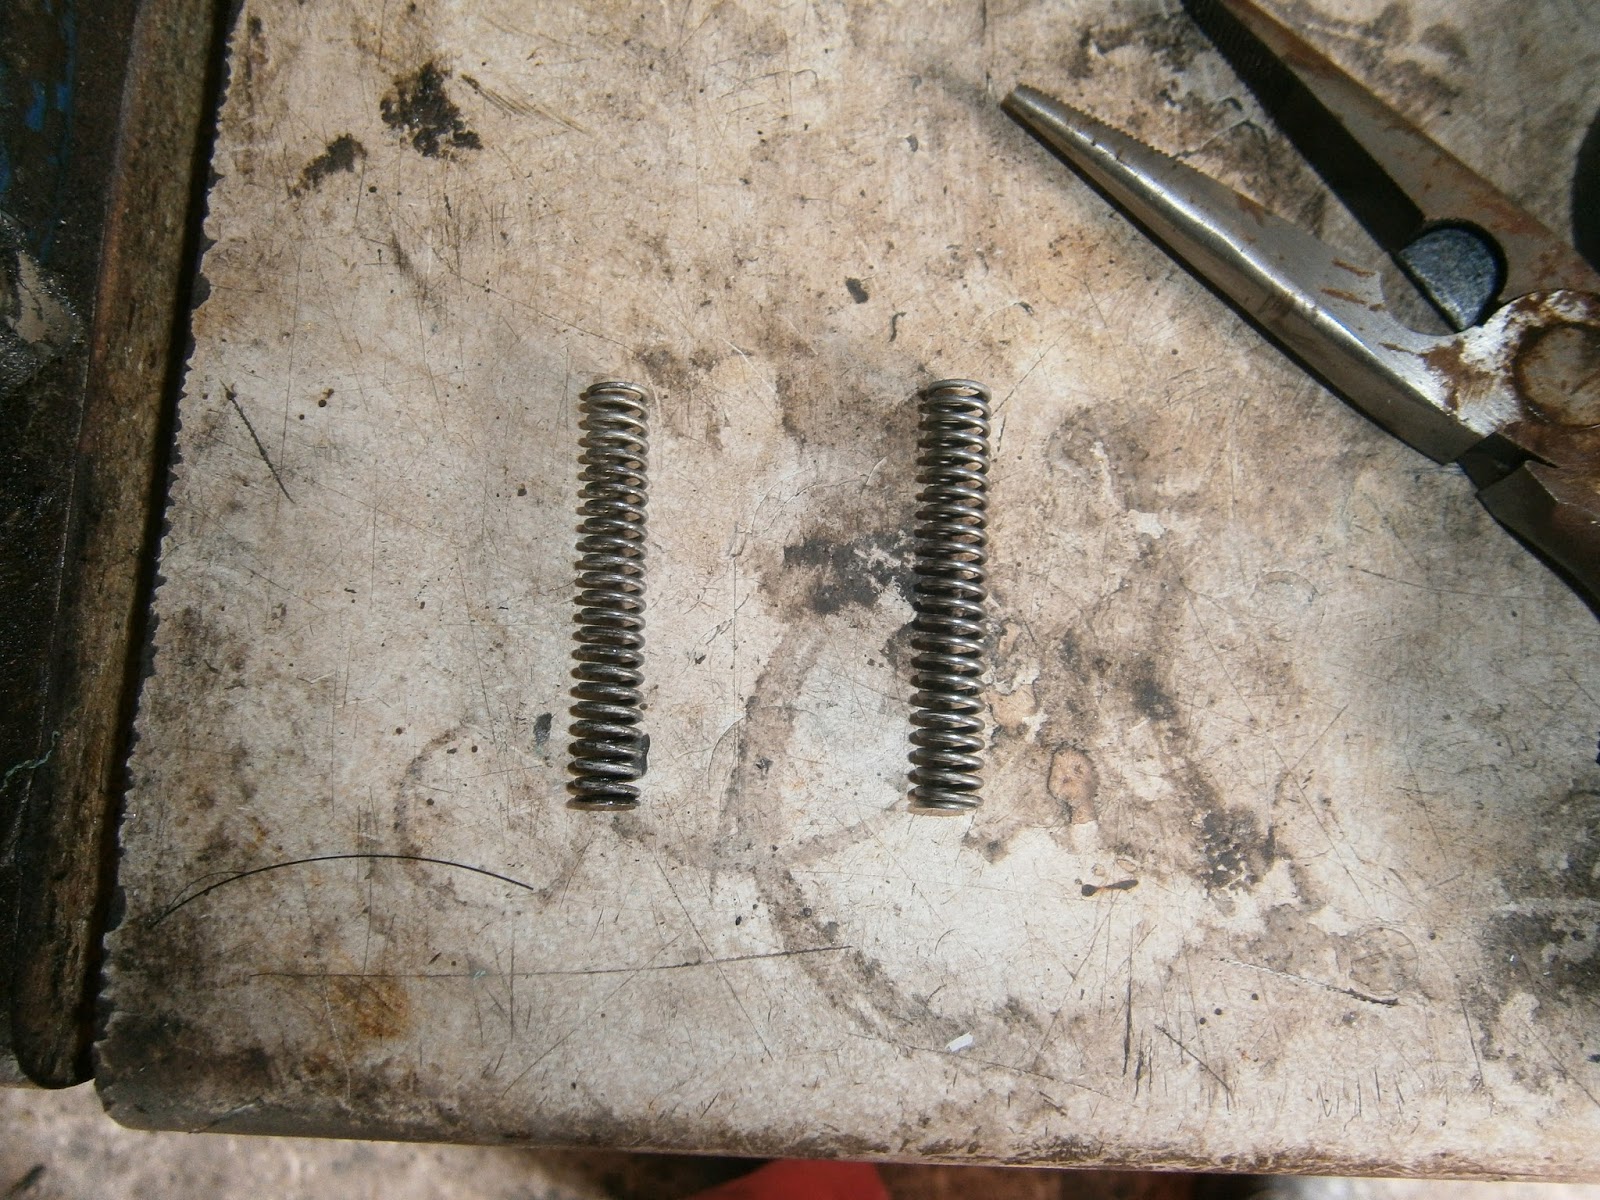
| Replacement spring on right |
The old spring pulls out of the auxillary housing with a pair of snipe-nosed pliers, the new one just pushes in. I couldn't see any obvious difference, but its an easy part to renew.
The distributor (Lucas type 45D) has detachable clips to retain the cap. In my experience these are all too detachable and keep dropping out as the distributor is moved. Its a relatively easy fix.
 |
| With the clip in place drill through the distributor lug with a 3.5 mm drill, take care to centralise the drill |
 |
| Tap to M4 |
 |
| Screw in M4 bolt ensuring clip can still swing out. |
Now the clips wont drop out no matter how I move the distributor!
The distributor slips into the aux housing- its a bit of a fiddle and although I have an alignment mark, I forgot to ensure that the driving shaft was in timing position before I made it and its been turned since (oops!). I think that this means I might have the dogs 180 degrees out (although I'm not sure that this makes a difference that couldn't be addressed by swapping the HT leads around. Anyway I will check that when the pulley is in the timing position (ie the mark on the aux pulley margin lies on the imaginary line
between camshaft and auxillary house pulley centres, pic below), the distributor is pointing at no 1 plug.
 |
| This is taken from Esprit world and I think its for another purpose, but it does illustrate the alignment of the pulleys in the timing position, I haven't checked whether my motor has 2 marks on the distributor pulley but I'll check.. |
... Well tested that, and despite appearances it seems that the distributor will only go in one way round...v good news although I can't tell why! Perhaps the shaft is off centre? Anyway, it does point at plug 1 in timing position so I think that's one worry I can dispense with. Finally I lined up the position indicators I had scribed on housing and distributor body so timing should be approximately right. I will check the static timing later.


No comments:
Post a Comment
Feel free to let me know what you think of this blog. I'm working on my own here so any feedback from those Lotus enthusiasts floating around "Blogger Bank" is welcome. Suggestions for process improvements especially welcome. If you like it please follow.