I can however get on with a few little jobs and as I'm tired of kicking the boot mats about in the garage, I decided to fit these and sort out the jack handle stowage. Not earth shattering stuff but this is what I did.
One of the 3 clips that hold the jack handle was broken- I removed the jack cover and fitted a new clip. At the same time the hardboard was warped and had pulled away from the wooden strengthener so I ...

... peeled back the carpet and screwed the board back onto the wood at each end.

Using countersunk screws so the heads would vanish.

Final effect was a straight board. I cleaned the carpet and also the area in the boot where it should fit...

and sprayed carpet adhesive over the boot floor and the carpet section as well as any areas on to of the board where the carpet had started to pull away...

before sticking the section back in place.

The spare wheel cover presented a slight problem as I had two: one came with the car and the other was acquired with my spare motor. They were different; one was made of hardboard with a strengthening rib down the fuel tank side. This one also had two studs at the rear of the car and a toolkit strap underneath. The parts manual identifies this as a post 85 boot floor, the presence of the strap but lack of a ridge to retain a toolbox suggests this was made for a tool roll. However my car is an '84 and the second boot floor matches that in the parts book. The studs are absent replaced with the vecro or stickle-brick type of fastening spot I have found all over the car... as an aside when I first found them I thought they were so cheap, nasty and ineffective that they must have been put in by the LBPO- I am amazed to find that they are in fact original Lotus fittings! If I had paid full price for this car at the time, I might perhaps have questioned that part choice. Anyway this board is stiffer plywood painted black but lacking the studs, side reinforcement and centre strap. It does give me a bit of a puzzle because the underside of these panels isn't shown in the parts book, so I don't know if my boot floor is a replacement board and so should have had the tool roll strap.
 |
| Later boot floor- mounting studs, metal rib along the edge and tool roll strap |
 |
| close up of stud- my car has no sockets for these. |
 |
| This I think is the right floor for my car- sticky plastic spots, no rib and no strap- but is this original? |
I was lucky that the correct floor does appear to be the black one as the hardboard floor had been water damaged and would need replacing. I do not yet know whether I should transfer the toolkit strap to the black floor as I don't know* if it ever had one here so until I find out I'm simply going to leave it.
* Answer from another owner of an older Excel... The tool roll is stowed beside the jack, no strap fitted to boot floor panel! - Great news .. saves me a job!
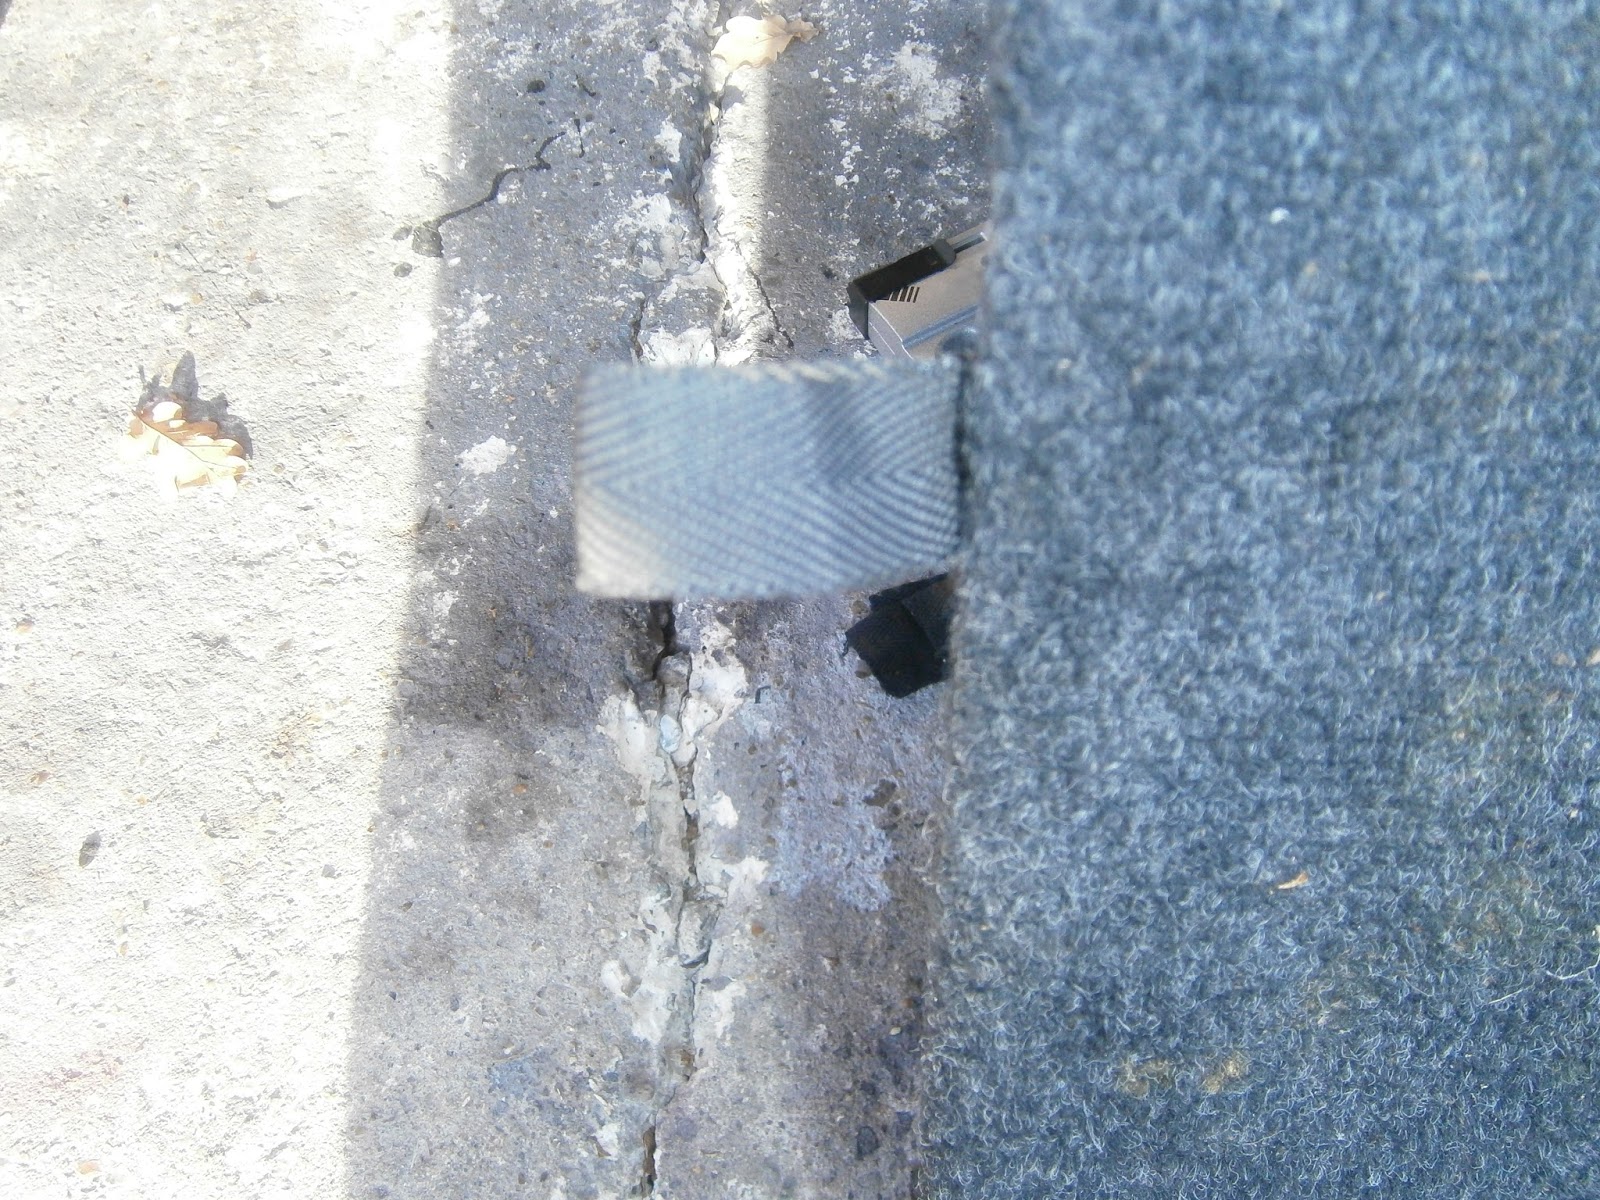
The boot floor is made to be removable to give access to the spare wheel. For this purpose it has two handles formed of webbing loops, one either side. One of these was fine- the other had frayed and pulled out. I peeled back the carpet over the webbing mounting and found it was simply stapled on.


The rear panel of the boot presented a slight problem; again I have two and they are of slightly different design- differing at the extreme right hand side where they go beside the battery. The parts manual doesn't identify these changes. However one board was very damaged and the other was in better condition so, since the differences are apparent only on the battery side (where they will eventually be covered by the battery case), I decided to fit the panel that was in better condition. Before I started I tied up the tank vent hose and loose wiring so that it runs tidily across the tank and drops its connectors in the right positions for the flow lock, fuel pump and boot courtesy light switch. The two battery leads were carefully routed out so that they could reach the terminals without stretching either the wires or bending the rear panel.
The rear panel is held by two screwed tabs on the base and three screws at the top. Each base tab has two screw holes
 |
| board mounting lug: two screwhole for fixings. |

 |
| Rivnuts installed |
 |
| Lower tabs screwed down. |
The top mounts are simply self-tapping screws that fix into these top brackets.
 |
| Angle bracket for self tapping screw |
I could push the panel back and screw it into these brackets using black flanged trim screws..

The LPBO had bodged several areas of the boot side trim (basically vertical carpet) with double-sided tape which never works. I went round the boot respraying those dog-eared sections of side trim that were detaching and sticking them back up. Overall the boot could do with another clean but its in, its firm and its relatively tidy!
 |
| Boot panels in position |
 |
| Battery will eventually need a cover- I do have the original cover but as I have upgraded to a higher capacity battery neither the mountings nor the case will actually fit- but that's a job for another day. |
I renovated the trim panels (lefgt and right light rear panel) boot lock cover and battery cover. The boot lock cover was cracked; superglue was ineffective but a hot glue gun did the trick.
 |
| Boot catch and light surround repaired and installed with new screws |
 |
| rear light back cover-Right hand |
 |
| Rear light cover- Left hand |
Looking good, Please keep the blogs coming, I do enjoy reading them and it better prepares me for the day I have to take on some of these jobs with my Excel. For now, it's running great! (1991 SE)
ReplyDelete